Configuration of Product Compatibility with Hipli
Two custom fields "compatibility" are used to define the compatibility of products with Hipli: One for products and one for product categories.
Operation of the "compatibility" custom fields
The defined value corresponds to the quantities of a product that can fit into a Hipli package.
There are two special values:
- -1, this value means there is no limit on the quantity of product that can fit into a Hipli package.
- 0, this value means it is not possible to send this product in a Hipli package.
The custom field for products takes precedence over all others.
Hipli Custom Field for Categories
The custom field for categories is used if there is no value defined for the product. If a product belongs to multiple categories, the most restrictive setting will be applied.
Example
A product has no defined value, but it belongs to two categories. The first category has a Hipli compatibility with a value of 5, the second category has a Hipli compatibility with a value of 10. The final Hipli compatibility value for this product will be 5.
More examples
| Product | Category 1 | Category 2 | Final Value |
|---|---|---|---|
| 3 | 5 | 10 | 3 |
| 3 | 15 | -1 | 3 |
| 3 | 0 | -1 | 3 |
| Empty | 5 | -1 | 5 |
| Empty | 0 | 5 | 0 (not compatible) |
| Empty | Empty | Empty | -1 (no limit) |
Configuration of Product Custom Fields
To configure the product custom fields, go to your Prestashop store configuration, then to the Catalog section and Products.
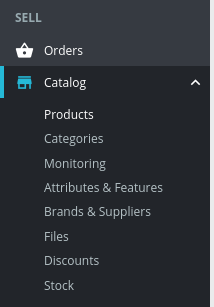
Click on the product you want to configure.

You should arrive on this page:
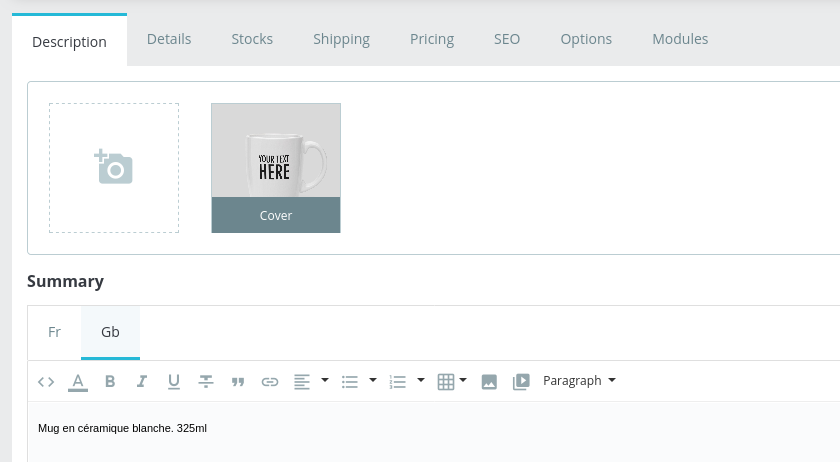
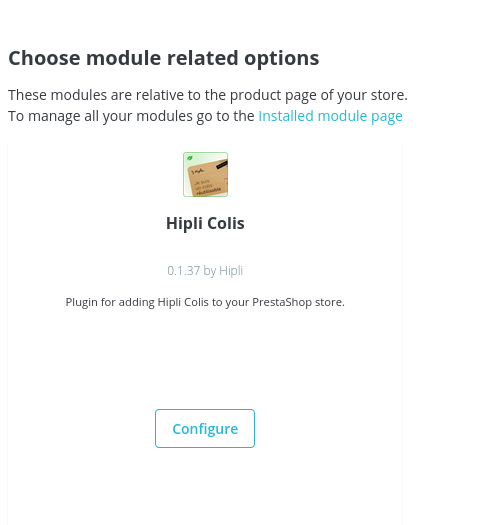
Click on the "Modules" tab. Then on Configure in the Hipli Colis module.
You will access the configuration of the Hipli Colis module for this product with a field for Hipli compatibility.
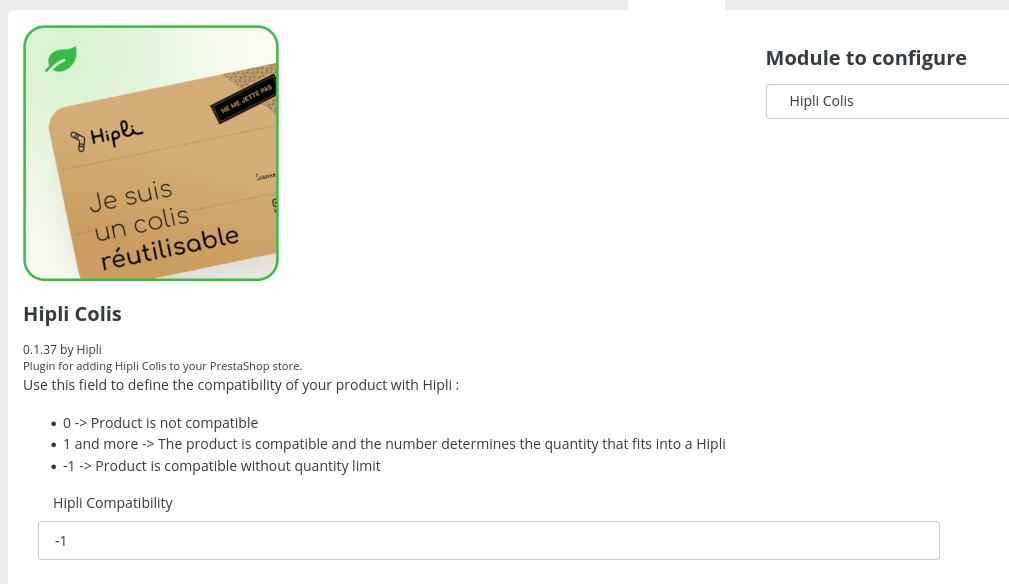
That's it! You have configured the Hipli compatibility for this product.
Configuration of Category Custom Fields
To configure the category custom fields, go to your Prestashop store configuration, then to the Catalog section and Categories.

To the right of the category list, click on the edit icon of the category you want to configure (if you don't see the icon, click on the 3 dots then edit).
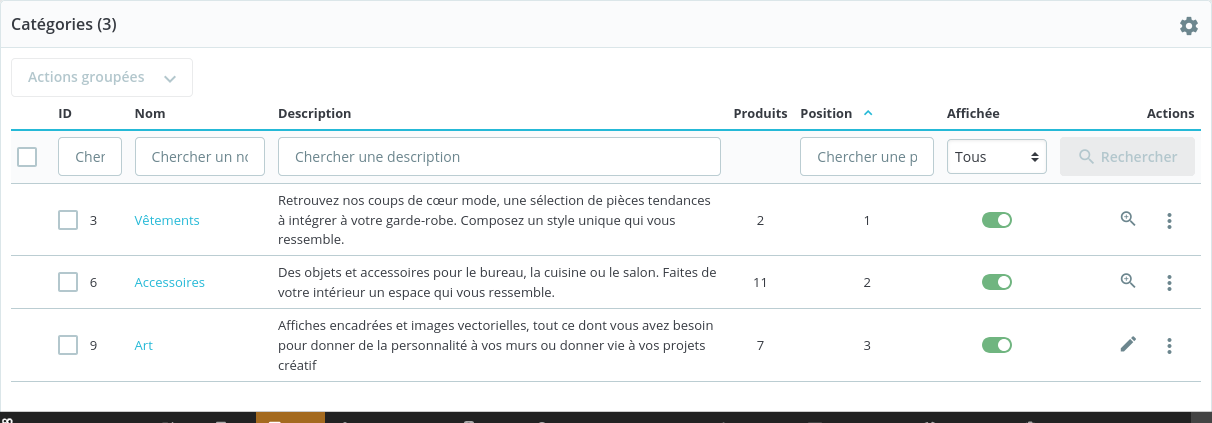
In the category configuration page, in the list of fields, look for the "Hipli Compatibility" field and enter the Hipli compatibility value for this category.

Click on "Save" to validate the configuration.
That's it! You have configured the Hipli compatibility for this category.